
What Will You Need To Remove Peel And Stick Wallpaper?
-
Plastic Scraper or Putty Knife: Useful for gently lifting and removing residue without harming the surfaces.
-
Hairdryer or Heat Gun: Consider application of heat to soften adhesive, making removal easier.
-
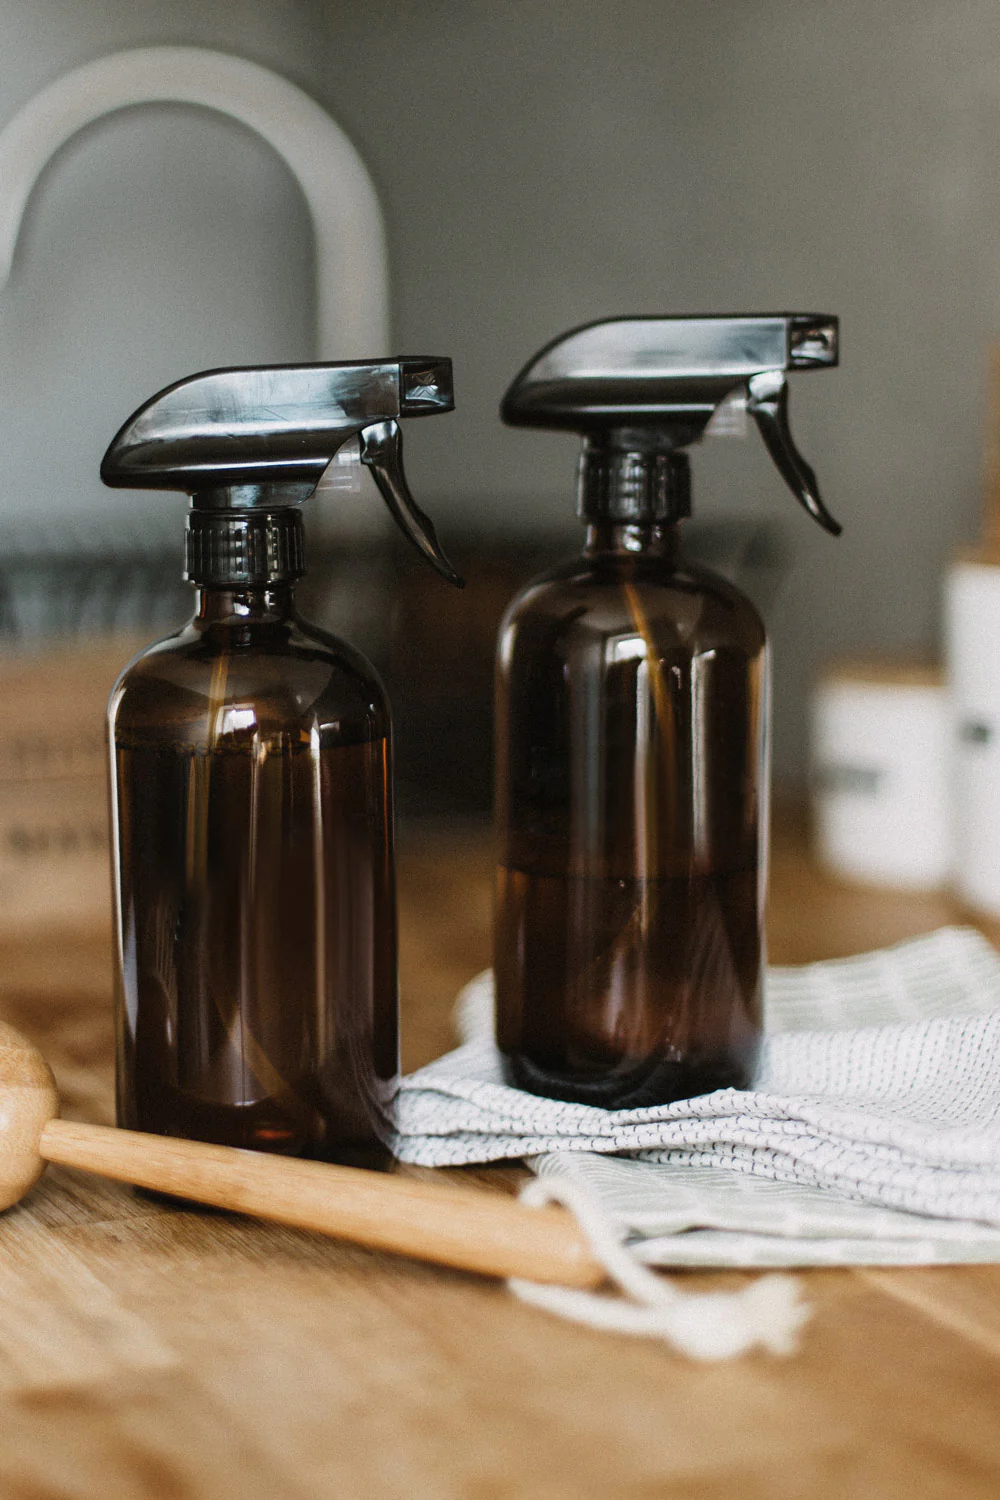
Mild Dish Soap Solution, Damp Sponge, Warm Water and Spray Bottle: Ideal for cleaning surfaces after adhesive removal, ensuring all adhesive residue left is gone.
-
Adhesive Remover (optional): Helps to get stubborn adhesive residues removed.
-
Drop Cloths or Old Sheets: Protects floors and surrounding areas from debris and spills during the old wallpapers removal.
-
Utility Knife: Perfect for cutting through tougher materials or for precision work.
Removing Peel and Stick Wallpaper - Step-By-Step Guide
1. Prepare the Room
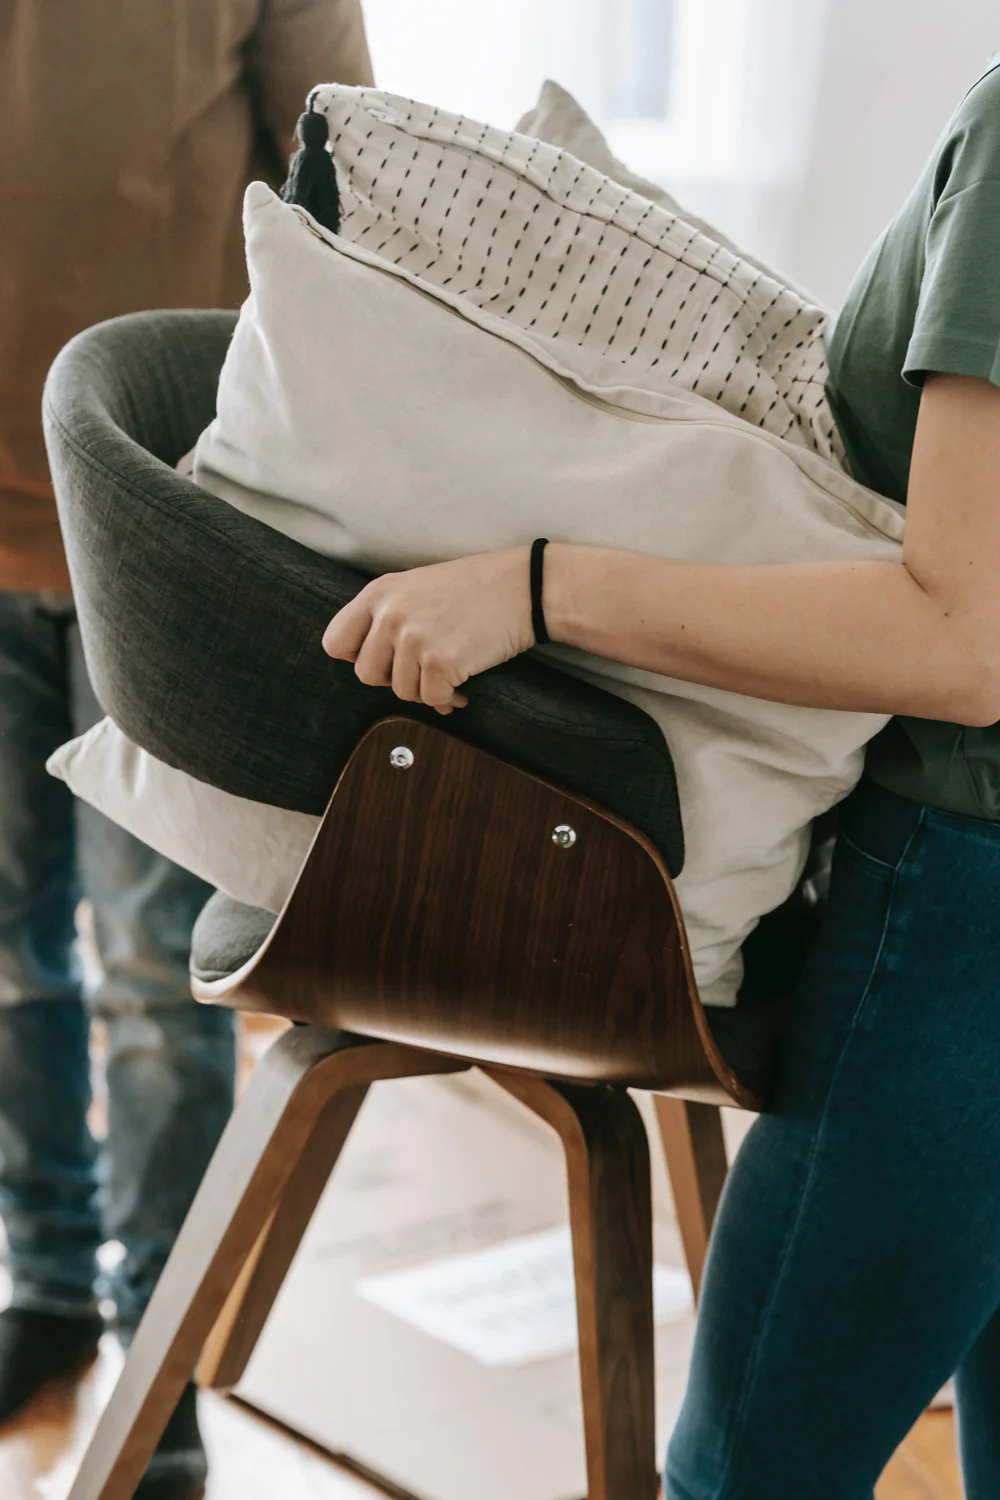
- Move Furniture: Begin by clearing the room of any obstructions. Move all furniture, including chairs, tables, and larger items, away from the walls where you plan to work. This will provide ample space and prevent your belongings from getting in the way. It's essential to have a clutter-free area to move around comfortably and safely.
- Protect Flooring: Lay down drop cloths, old sheets or even backing paper to protect your flooring, light switch covers and generally outlet covers before beginning your peel and stick wallpaper removal project. This will catch any adhesive or wallpaper pieces that fall, making cleanup much easier later. Be sure to cover the entire area where you’ll be working to avoid any mess. Additionally, consider taping the edges of the cloths or sheets to keep them in place.
2. Start at a Corner
- Find a Starting Point: Locate a top corner of the peel and stick wallpaper. Use your fingernail or a plastic scraper to gently lift the corner, taking care not to damage the wall underneath. This initial step can sometimes be tricky and may require a bit of patience. However, once you get a good grip on the corner, the process of peeling off the wallpaper becomes much more manageable and easier to continue without causing any wall damage. Be sure to gradually peel and pull slowly and steadily the sticky side to avoid tearing the peel and stick wallpaper into smaller pieces and getting air bubbles.

3. Peel Slowly
-
Peel at an Angle: Peel the peel and stick wallpaper slowly at a 45-degree angle. This angle helps prevent tearing and reduces the risk of harming the wall surface underneath. Patience is key here; rushing can result in more work later. Start at a corner and easily use a putty knife to lift the edge of the peel and stick wallpaper gently. Once you have a good grip, continue peeling slowly and steadily. If you encounter resistance, dampen the area with a sponge to loosen the adhesive. Taking your time will ensure a cleaner peel and stick wallpaper removal and save you from having to patch or repair the wall surface afterward. When applying new wallpaper make sure the underlying surface is dry completely.
-
Apply Heat: Turn on your hairdryer or heat gun to a low setting when applying heat. Hold it a few inches away from the affected area and direct the heat source toward the adhesive side of the wallpaper as you peel it off. Applying heat means softer glue, making it easier to remove the peel and stick wallpaper without damaging the wall. Work slowly and steadily, applying consistent heat as you carefully lift the wallpaper for easy removal. For particularly stubborn sections, you might need to increase the heat slightly or use a scraper to help loosen the adhesive. Don't be afraid to repeat the operation to get the old designs out of your way.

4. Remove Residual Adhesive
-
Check for Residue: Once you've removed the peel and stick wallpaper, inspect the wall thoroughly for any sticky residue. It's common to find some sticky spots that need extra attention. Use a scraper or a damp cloth to gently remove adhesive residue. If needed, apply a mild painting adhesive remover to help with the stubborn residue. Finally, ensure the wall is completely clean and dry before proceeding with any new wall treatments.
-
Clean the Wall: Be careful and easily clean the wall with a mild soap solution and a soft cloth. For stubborn adhesive, use an adhesive remover and gently scrub it. Follow the product instructions carefully to avoid damaging the wall. This step ensures your wall is ready for whatever comes next, whether it's a new coat of paint or another removable wallpaper. Maybe consider also using a smoothing tool.

Troubleshooting Common Issues
-
Wallpaper Tears: If the removable wallpaper tears while peeling, don't panic. Use a craft knife to carefully lift the torn edge and continue peeling slowly. Work gently to avoid further damage, and if needed, apply a bit of water to soften the adhesive. Tears are common but manageable with the right tools, patience, and a steady hand. You can also use a putty knife to help lift the paper without causing more tears. Remember, taking your time can make the process smoother and prevent additional issues.
-
Adhesive Remains: If noticeable adhesive remains on the wall, apply more heat with a hairdryer or heat gun and gently scrape it off with a putty knife. Ensure you use even heat distribution to avoid damaging the wall surface. Stubborn adhesive may require an adhesive remover for complete removal; follow the manufacturer's instructions for the best results. Be patient and thorough, repeating the process as needed, to ensure a completely clean and smooth surface. This meticulous approach will prepare the wall for any subsequent treatments or applications.
Tips for a Smooth Removal Process
-
Test a Small Area: When thinking about stick wallpaper removal, it's crucial to test a small, inconspicuous area of the wallpaper to see how both the wallpaper and adhesive react to heat and peeling. Choose a spot that is not easily visible, such as behind a piece of furniture or in a corner. This preliminary test can help you gauge the difficulty level of the removal process and allows you to adjust your approach accordingly so that it works for yiy. By doing this, you can avoid potential damage and ensure a smoother, more effective removal process.
-
Avoid Overheating: While heat is essential for wallpaper removal, overheating can damage both the wall and the wallpaper itself. It's crucial to always use a low setting on your heat source and continuously keep it moving to avoid concentrated heat in one spot. This method ensures a safe and effective wallpaper removal process, preventing any potential damage to your walls and making the task smoother and more efficient. Additionally, taking these precautions can help preserve the integrity of your wall surfaces, reducing the need for further repairs.
-
Use Gentle Tools: Opt for plastic scrapers and putty knives to avoid gouging the wall to minimize the risk of wallpaper damage. Metal instruments, on the other hand, can easily cause scratches and dents in your wallpaper, making your repair job more difficult. By choosing plastic tools, you'll protect the surface and ensure a smoother, more professional finish. Your walls will thank you for it!

Wrap-Up
Removing peel and stick wallpaper doesn't have to be a daunting task. With the right tools, a bit of patience, and our step-by-step guide, you'll have your walls back to their original state in no time. Ready to refresh your space and get them painted with paint or are you prepared for a new wallpaper design? Follow these tips and enjoy an easy, stress-free wallpaper removal process. Begin the old wallpaper removing process with our suggestions on starting to remove wallpaper and get them removed in no time. For more expert advice and tips, consider reaching out to our team of interior design and wallpaper professionals. Happy redecorating!


